
Good things come to those who wait….
Readers who have been waiting a while for the next post have perhaps been wondering, ‘Has it been raining on Tolmans Hill for weeks so things have ground to a halt?’ ‘Did Jenny and Doug run out of money already?’ ‘Did someone misread the architects’ plans and they had to start over?’
For those who know it, the marvellous, long-running UK television series Grand Designs usually has a dramatic moment of crisis, like those above, in each show (which almost always gets resolved in time). Loyal Grand Designs watchers have come to expect and accept these plot twists as part of the charm of the program.
But the dearth of Hobart hill house posts in the month of June comes not from crisis but from slow and steady progress on two fronts: the wall and roof framing of the upper level and studio level, as well as the preparation of the external timber wall cladding.
These kind of advances don’t make for compelling viewing on a weekly basis, so posting might have been construed as abuse of our readers! And the preparation of the external timber wall cladding directly involved your blogger for 14 days straight, thanks to two weeks’ annual leave from work, and those kind of hours can make any blogger grumpy – and less productive.
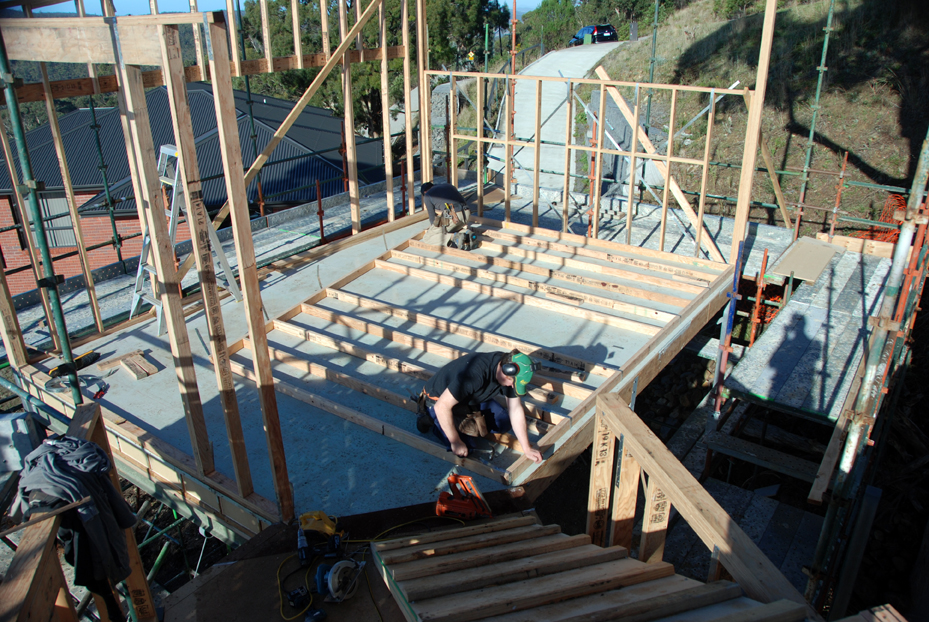
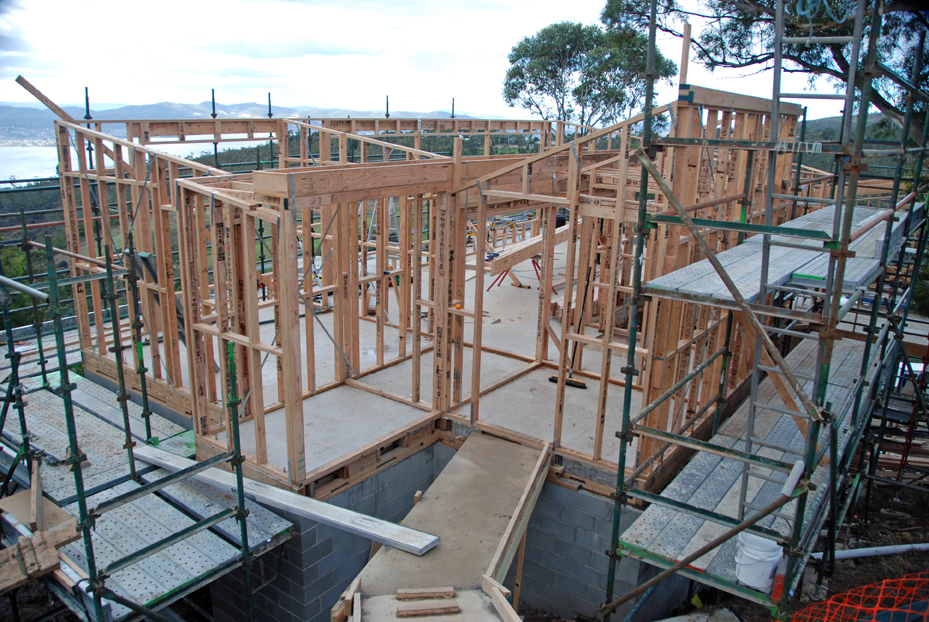
So, to refresh your memory of where we left off, a photo from the last post:

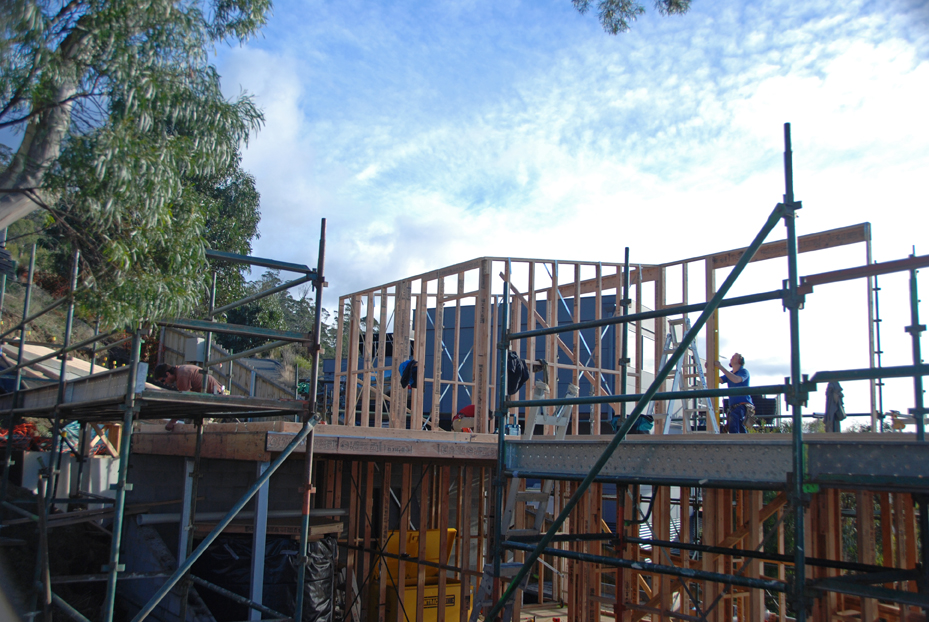
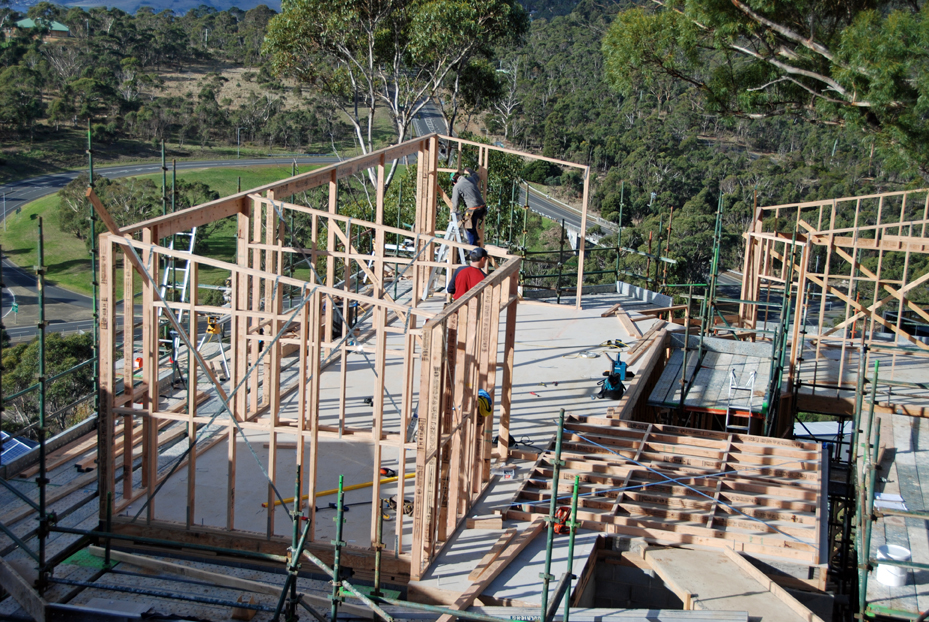
Day 63: the upper floors are completed and ready for wall framing to begin.
The week of 2 June saw the set out of the upper-level walls begin. This work is more time-consuming than the lower floor because both upper floors have raked ceilings and roofs. Work on the walls in the studio was the starting point, with the first wall section to be constructed just visible in the photo (above right).
Day 65: Jib (foreground) and Damien construct the west wall frame of the studio.
Once assembled, an old-fashioned method still works best!
Up it goes. Despite the deep shadows hiding Damien and Jib, this is a two-person lift.
With the four walls in place, the equally exacting work of adding window and door framing takes place.
With the studio walls in place, the upper level of the house is next; this is by far the most complicated wall-framing. The first section to go up is the study at the front of the house on the left, occupying the north-west corner.
Day 67: Nathan (left) and Jib muscle up the fourth wall of the study. Where they are walking will be the kitchen.
Day 68: The study as seen from a window opening in the studio, half a level below the upper floor. The team continues adding to the north wall frame, whose large windows will capture the panoramic view. The beams above the window openings are called lintels.
With plenty of work to do on walls and then the roof framing, a couple of weeks have been allocated all up.
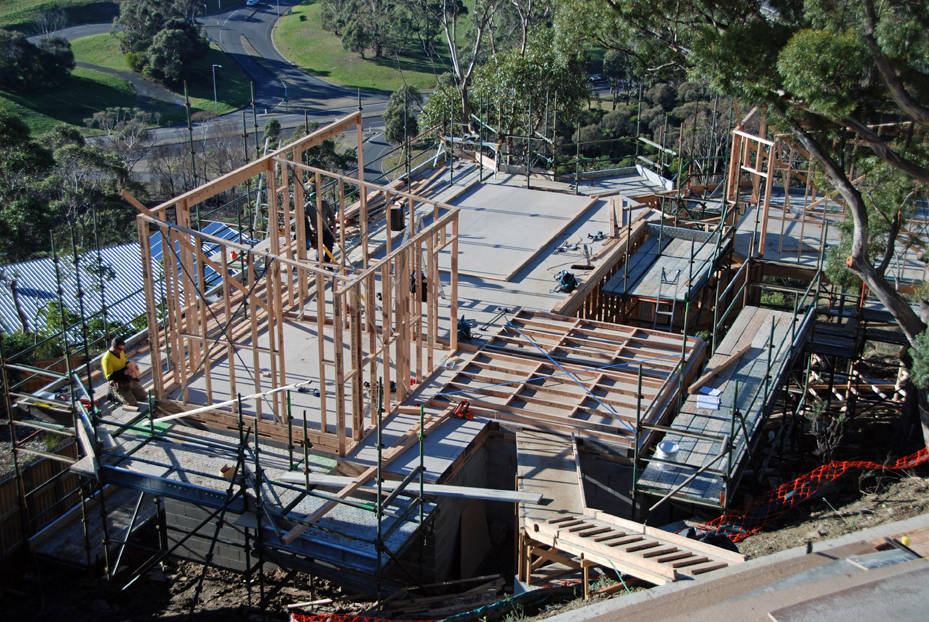
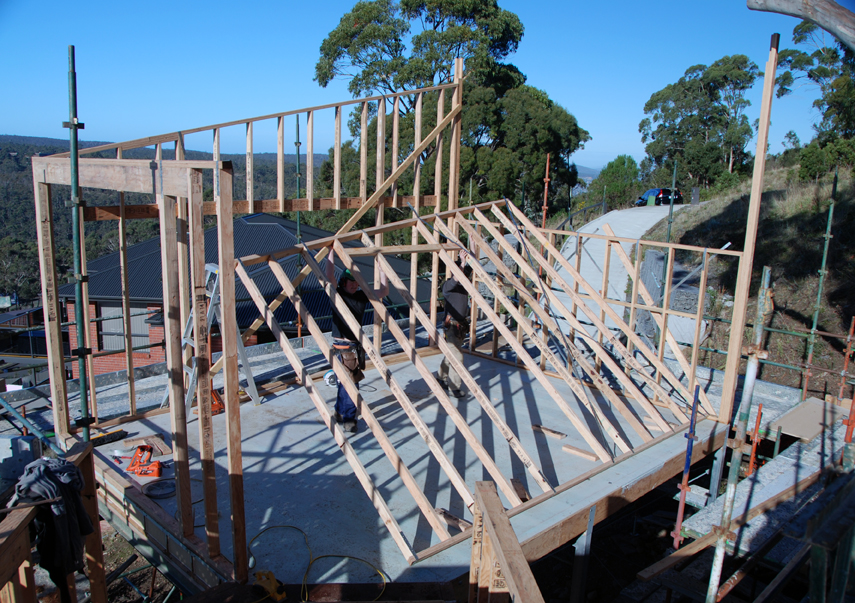
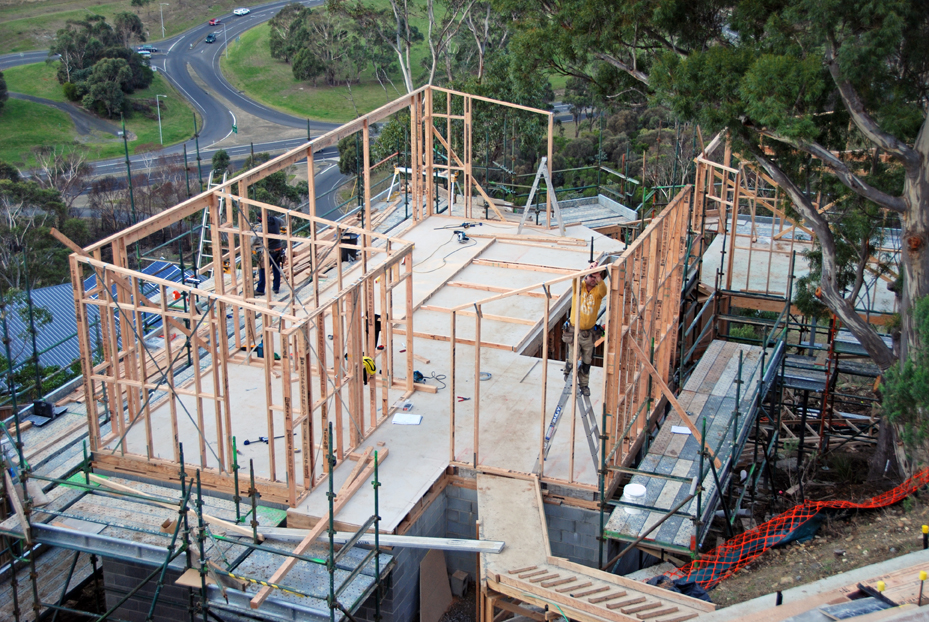
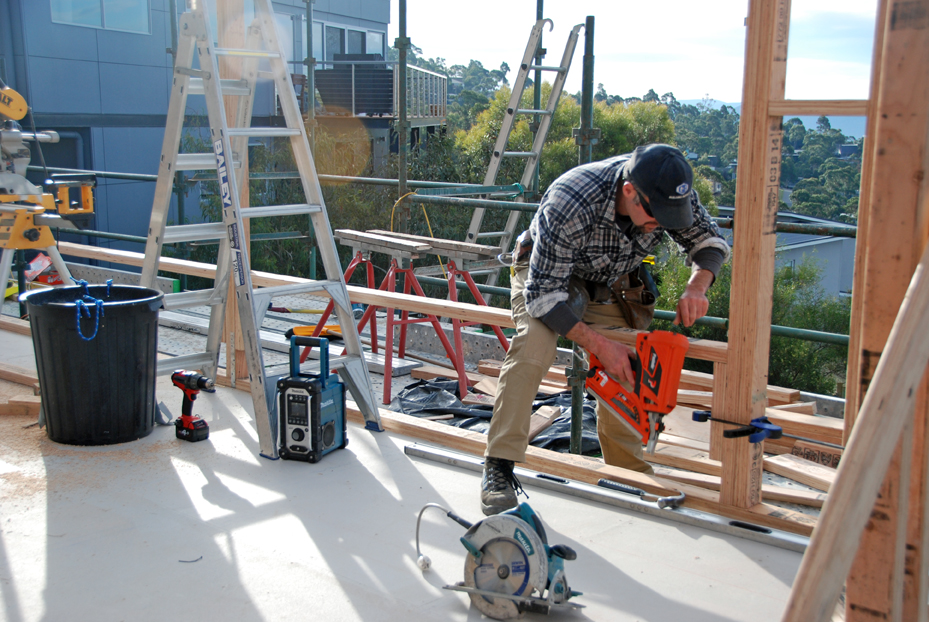
Day 68: Another perspective on the same point in time. Standing on the roof of the site office, a converted 20-ft shipping container, is a perfect vantage point for your photographer to reference the progress on the top floor.
The team of three carpenters-plus work carefully and to a very high standard.
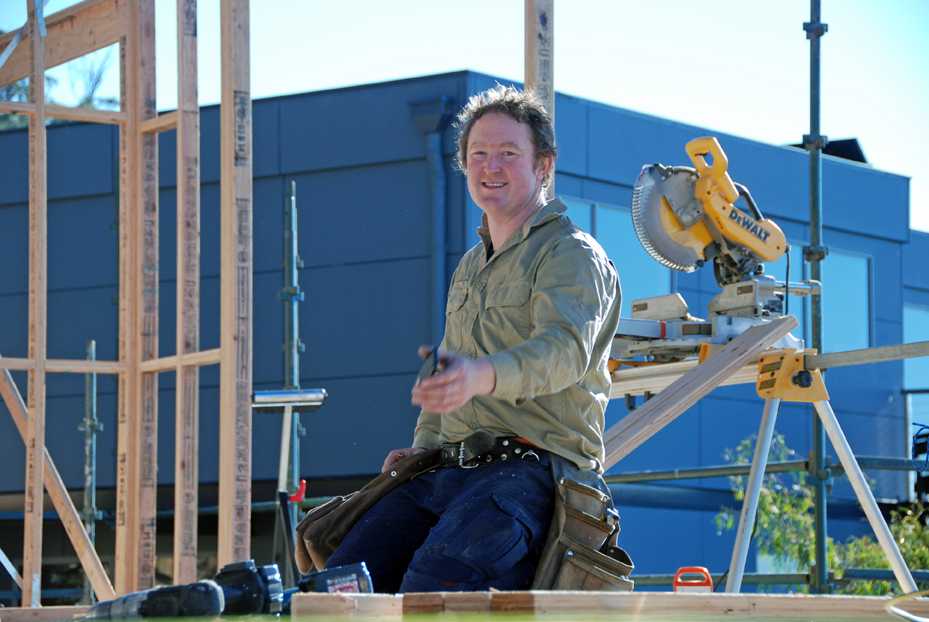
Nathan, the site foreman, enjoys the planning, organising and problem-solving but jumps on the tools whenever needed.
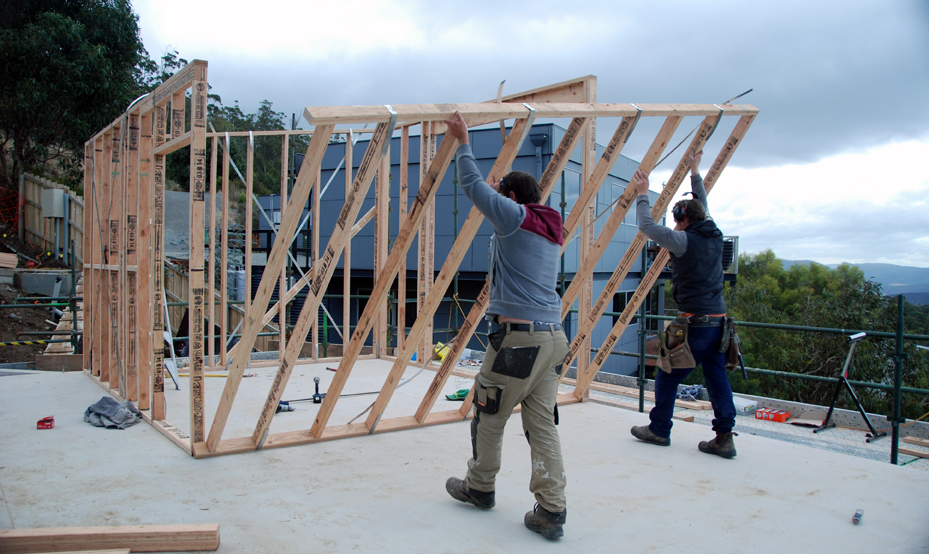
Damien and Jib throw up the east wall frame.
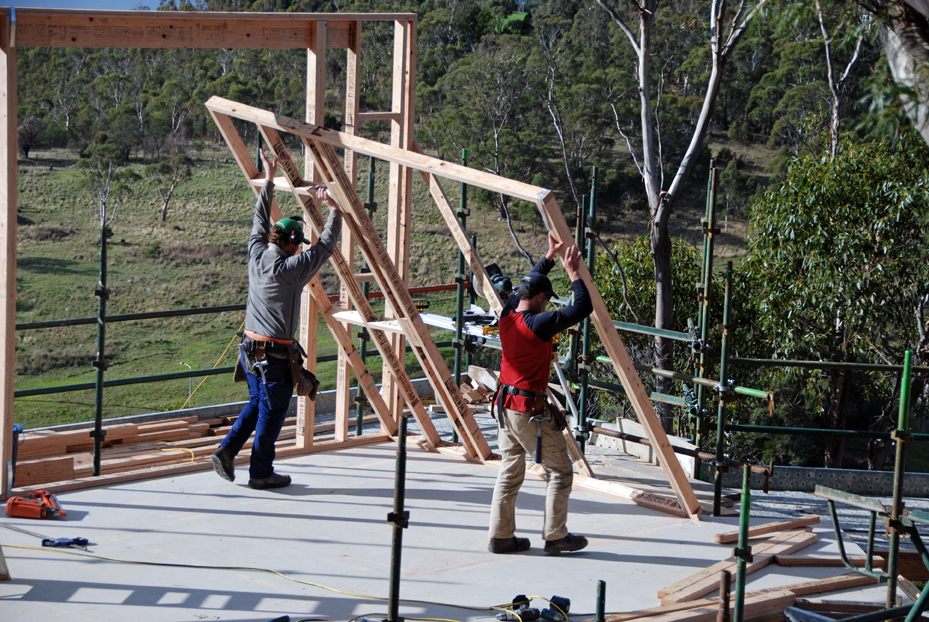
Day 68: this wall will have a sliding door providing access to a small deck.
With another wall-frame section ready to be erected, this has been a big day. As each wall goes up, the two-dimensional plans by architects David and Uta Green come to life in the real world of three dimensions.
The wall-frame section ready to go up forms part of the southern wall of the house.
It will be far easier to keep the big wall up if a smaller wall-frame section is added….
The structure of the house slowly takes shape as each new wall is fastened to the next.
Seen more easily from a level perspective, the planes of the butterfly roof on the main house are at sharply different angles. Seven degrees on the left and twenty-two degrees on the right. Form follows function; a full explanation will be given … soon!
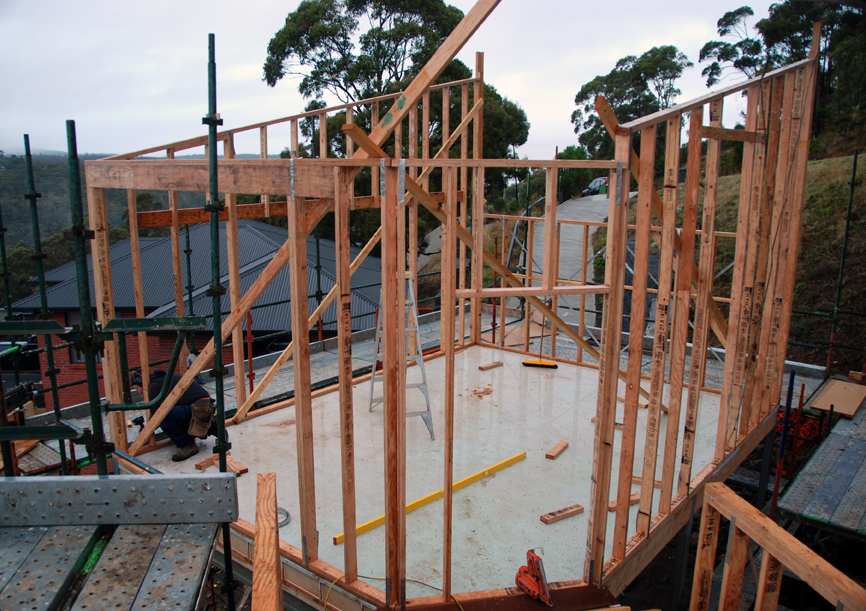
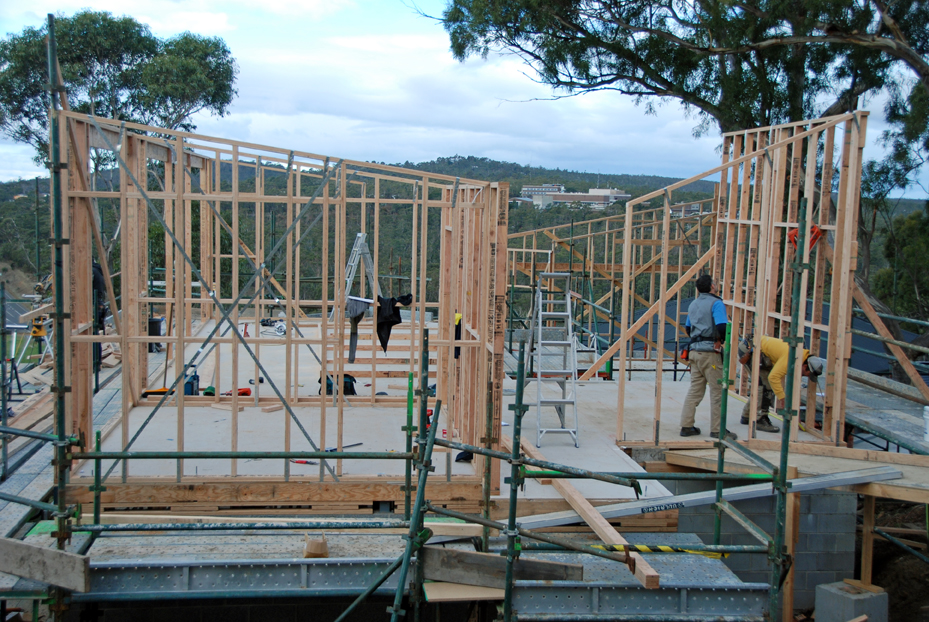
Day 69: the rest of the southern wall framing is up and all that is necessary now is to build the walls that connect the upper floor to the studio; a task that is easier said than done.
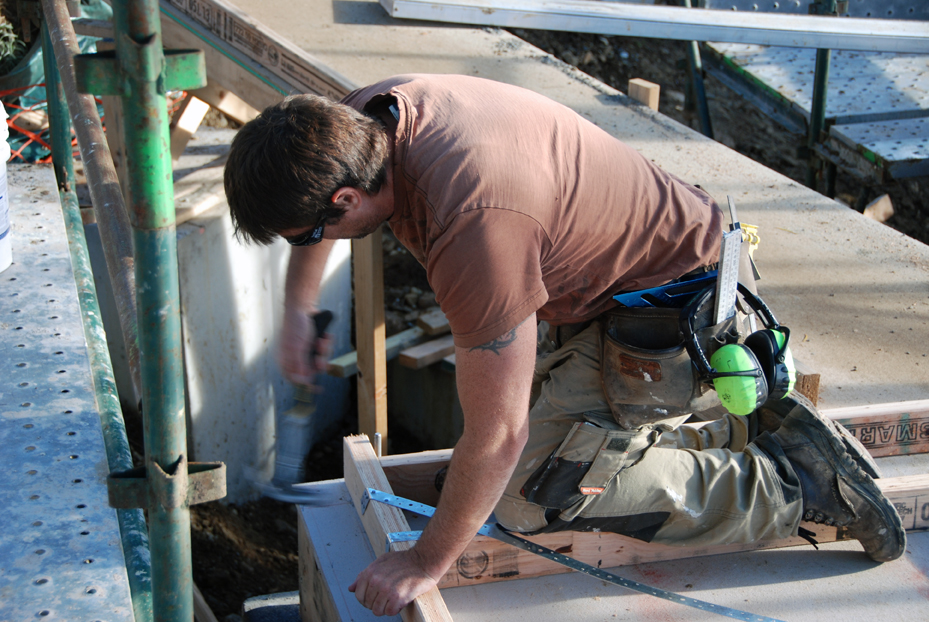
Once again, the roof of the site office makes an excellent reference point. With most of the walls up, the team splits up, with Damien beginning the painstaking work of framing the window and door openings on the upper floor.
The windows must be placed perfectly for the unusual cladding to show as designed on the facade.
Jib draws the ‘connect the two pavilions of the house’ card, which requires a lot more than hammer, nails and lvl timber. In a word, it means ‘trigonometry’.
On a building site in the 21st century, ‘trigonometry’ often means ‘mobile phone with internet access’.
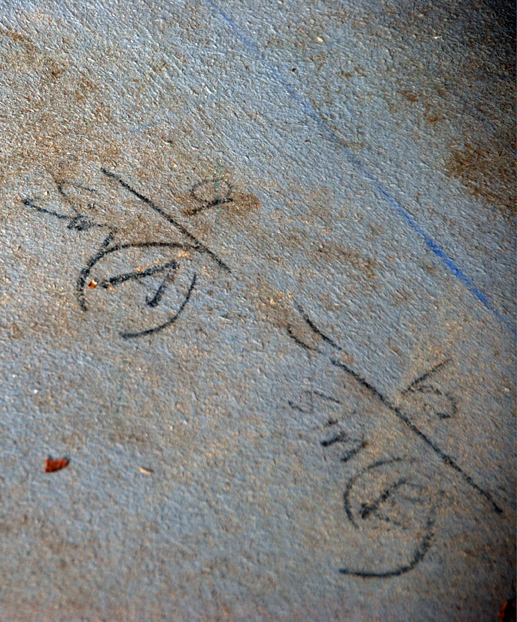
Why use paper when you can write on the green-tongue floor?
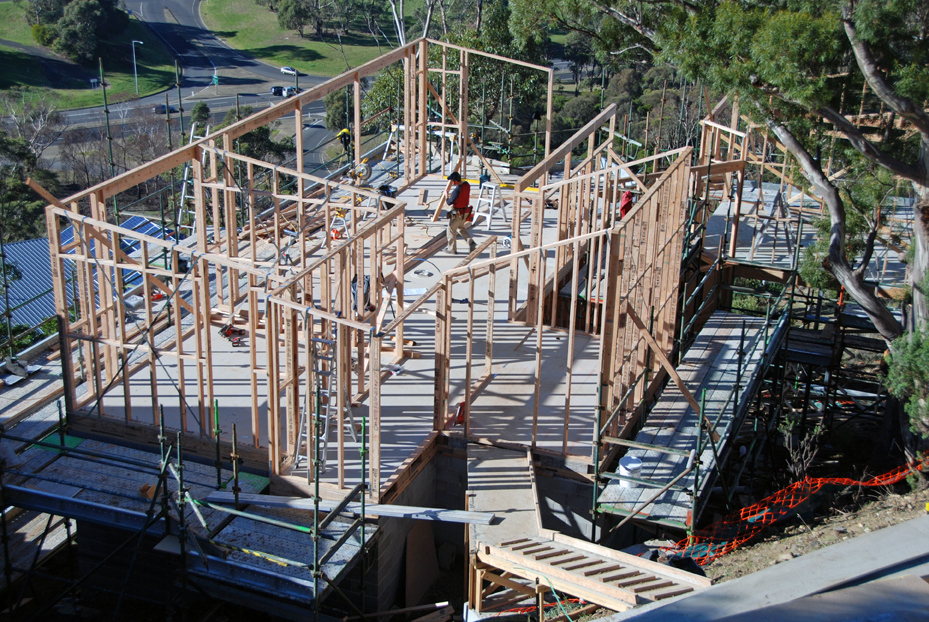
Days 70–74 (9–13 June) are filled with detailed work to complete the wall framing and get the structure ready for the roof rafters. But before the rafters can be installed, an element that is key to the success of any butterfly roof must be framed up: the box gutter. The fainthearted shudder at the thought of rainwater flowing down roofs toward a house rather than away from it, but properly constructed, a box gutter can do the job without waterfalls appearing inside the house.
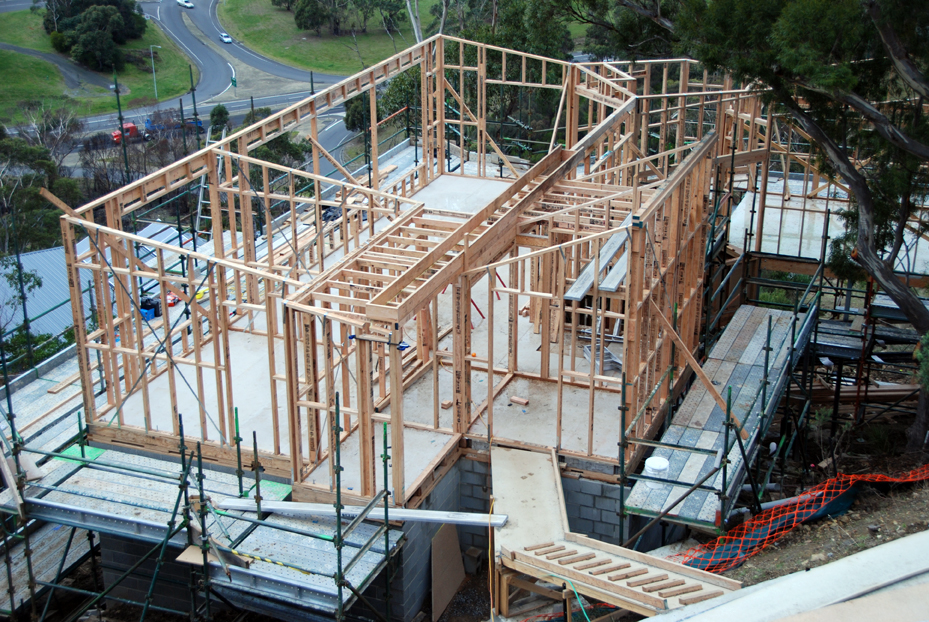
Day 74, lunchtime: all but one wall is up, connecting walls between the two pavilions of the house have been created and the box gutter has been framed.
For roof rafters to be installed safely and efficiently, more scaffolding is required. The order is placed in good time but in a Grand Designs–style mini crisis, the scaffolders let us down by taking what seems like forever to add the next level. Fortunately, the team keeps busy and productive while waiting.
Day 77: watching grass grow is more productive than waiting for the upper level of scaffolding to be completed – and more therapeutic.
The form, function and images of the butterfly roof structure are the subject of our next post. It will be brief – and timely – because in the real world of building, the roof sheets are expected to be installed by the end of this coming week! And after we are caught up on rafters and purlins and battens, it will be time to describe the preparation of the external timber wall cladding.

Great to see 🙂 I was indeed wondering, and would have written – but here you are… Thanks for the update and best wishes to you both.
In the grand tradition of Mad Magazine I am looking forward to seeing the shape of a squashed fly emerge on a wall due to someone swatting one on the plans! Please please please can we have a giant fly wall???