
Once again, a delay in posting signifies nothing more than your blogger is far too busy with other details to keep up with his posting! Fortunately, the to-do list is getting done and that means more time for blogging!
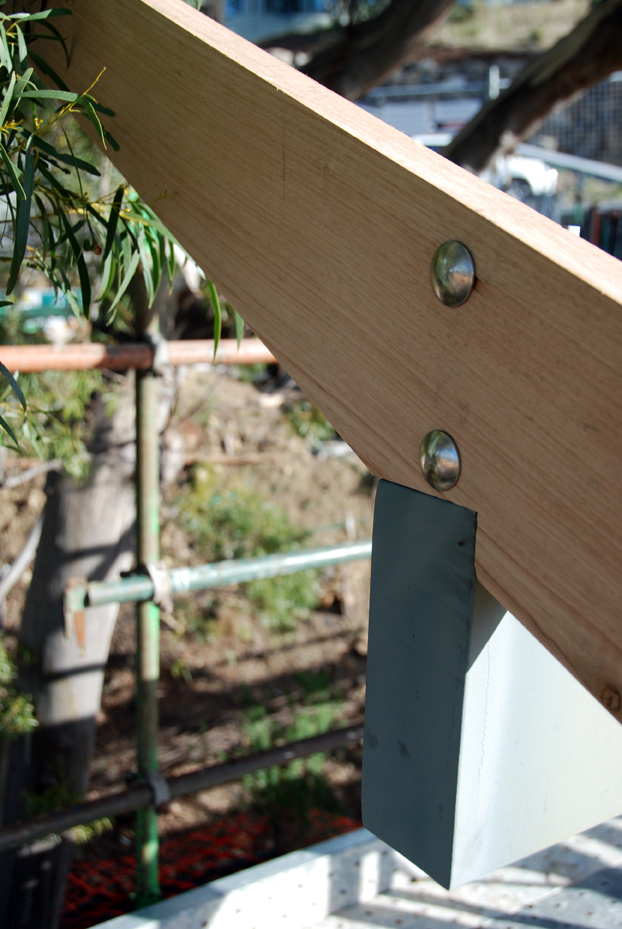
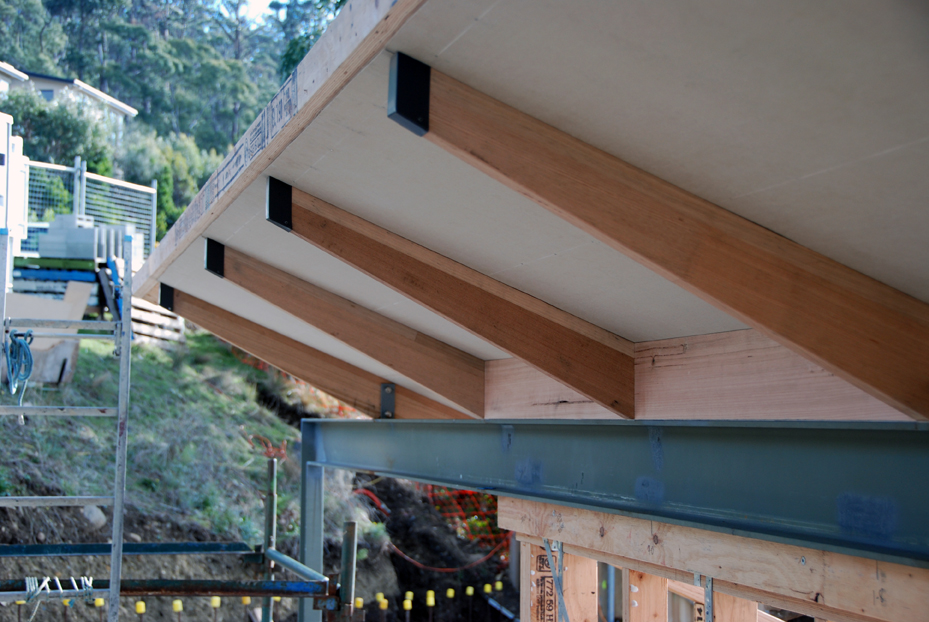
We pick up where we left off on Day 84 (27 June) with the details of the roof structure. A few rafters at each end of the 22-degree roof will be exposed along their full length. The one below is at the far eastern end of this north-facing roof. The bolts that hold these exposed tapered Tasmanian oak rafters make for a nice detail.
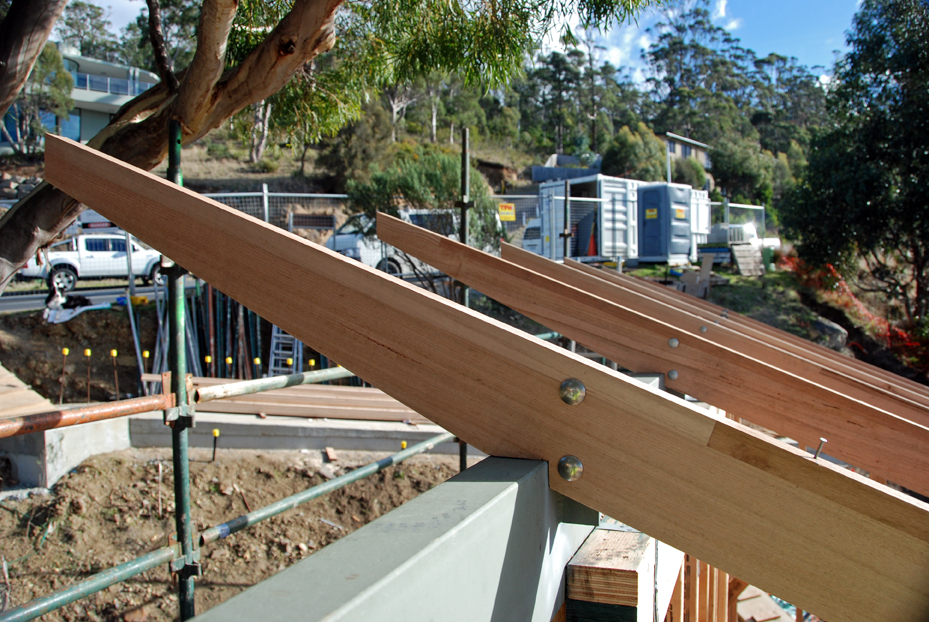
The rafters from a bit of a distance:
The lower end of these rafters. where the two wings of the butterfly come together, requires a box gutter, built largely by Nathan.
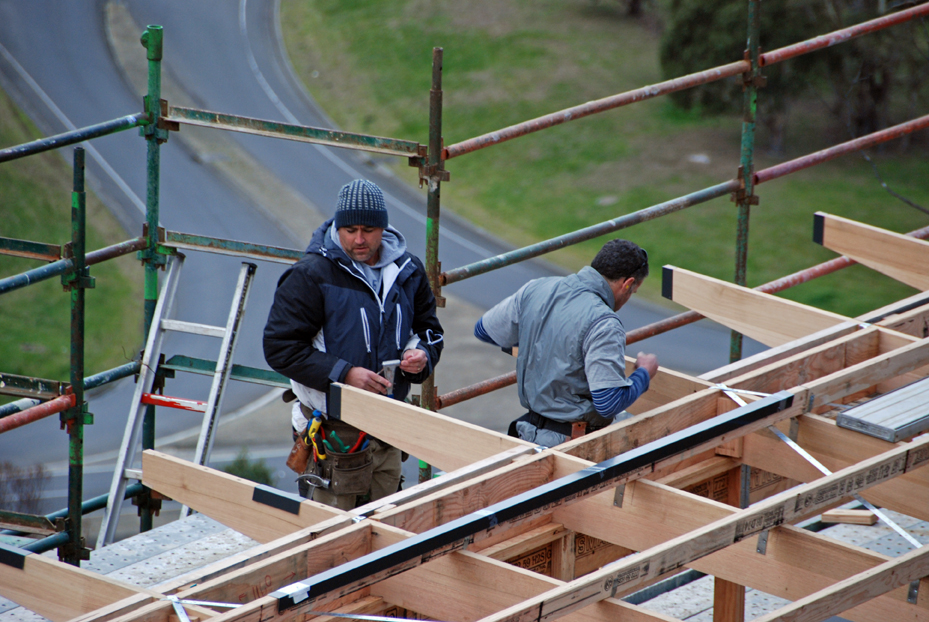
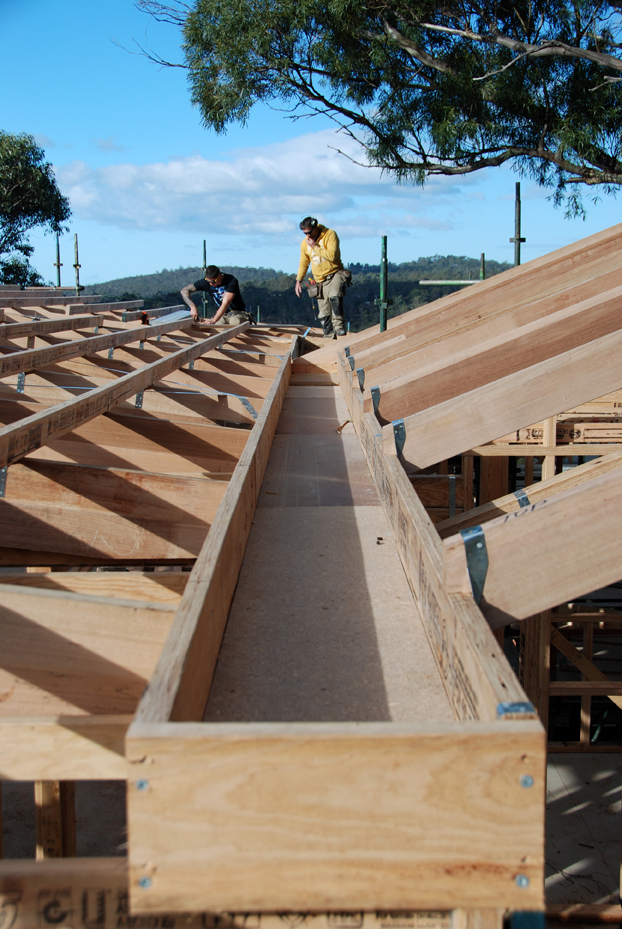 The box gutter will be lined with colorbond steel to match the roof colour. In the background, Zac (left) and Nathan put the finishing touches on the purlins on the main roof.
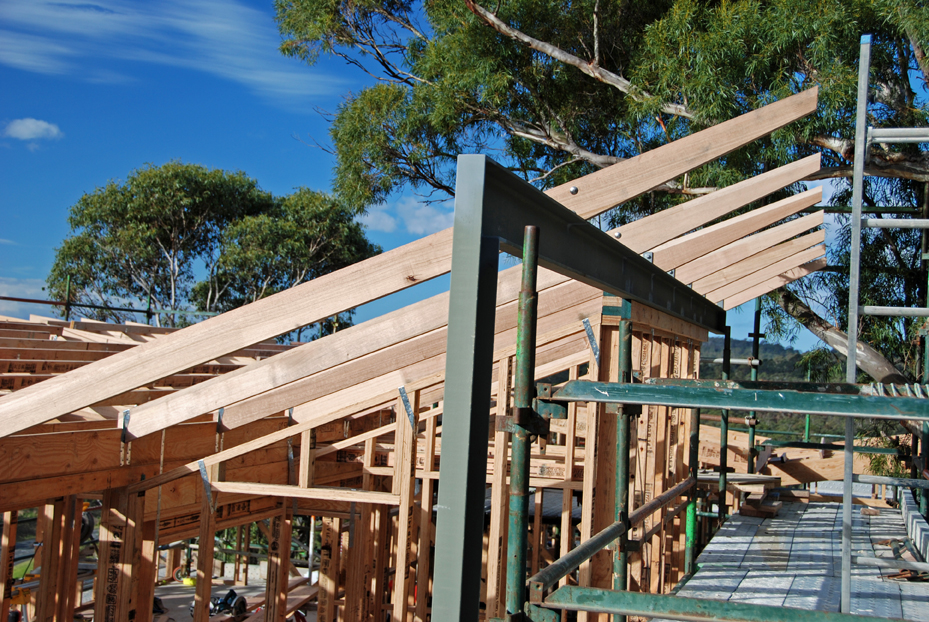
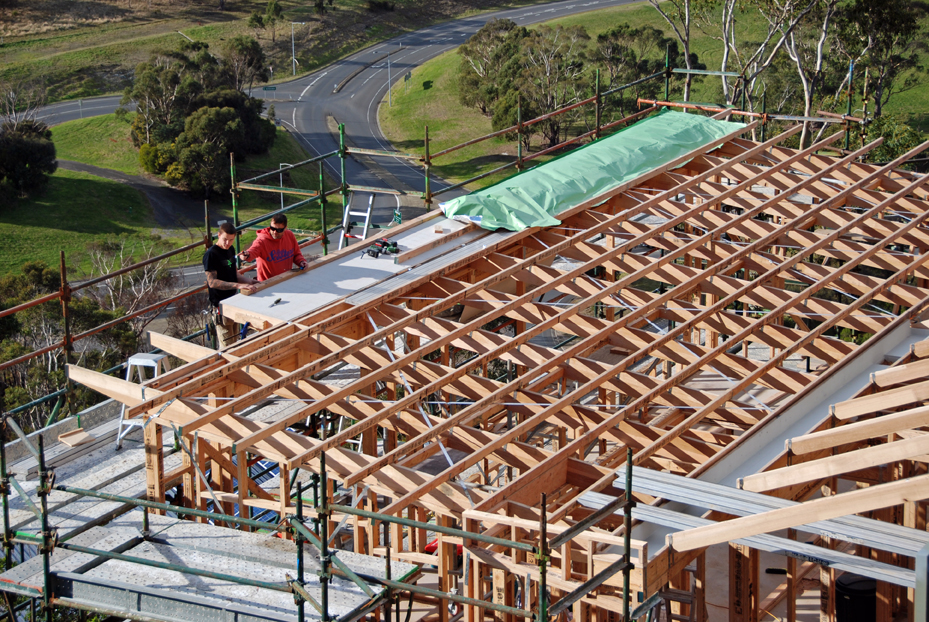
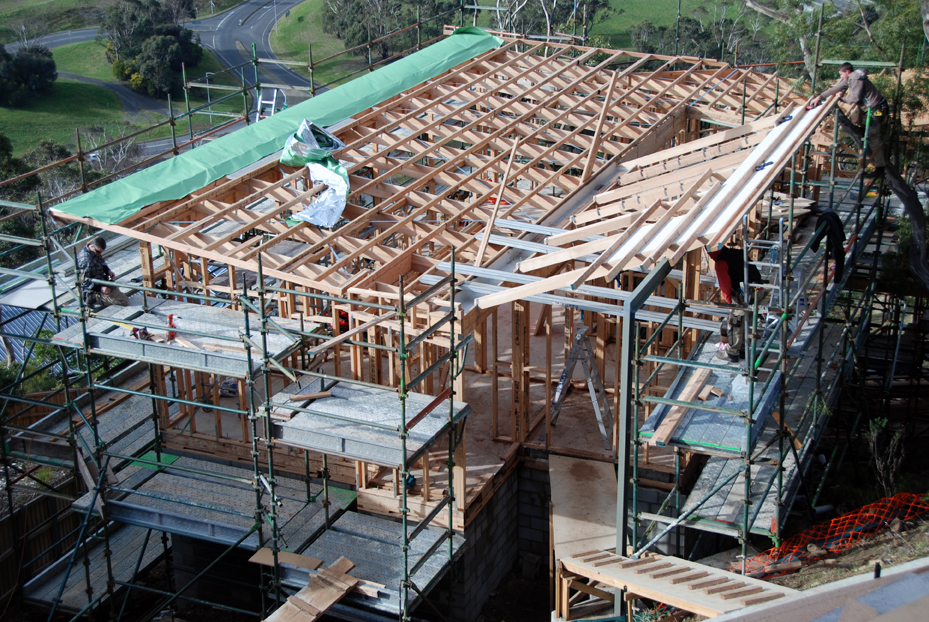
Looking from the west, the steel beam and the rafters on this roof, pitched at 22 degrees to carry the solar photovoltaic (PV) panels, are now ready for purlins to be added.
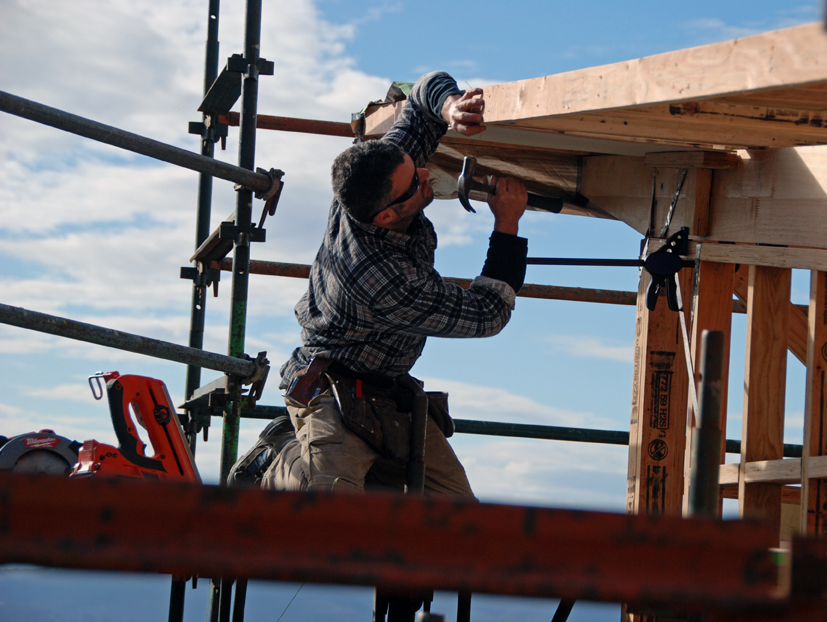
But before that happens, Nathan and Damien keep plugging away at finishing the details of the other wing of the butterfly. Below, Nathan (left, Day 86) is making and installing the colorbond end caps for the rafters that will protect their end grain from moisture. Damien prepares to install the final block to match the rest of the roof.
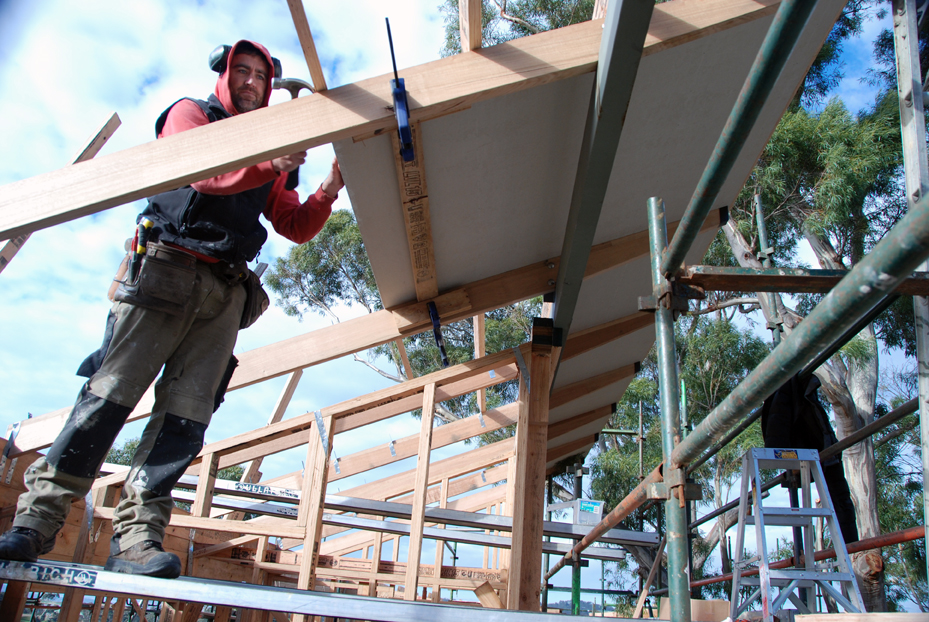
By Day 89 (4 July), the framing of the main roof is complete and Zac and Nathan are very far along in installing the soffit material, clear-sealed fibre cement sheet, on the northern end of the roof. Clear-sealing the sheets and installing them across the top of the rafters means a no-sag, no-maintenance solution for the eaves of this pole home. Were they to be painted or installed in the traditional manner, thousands of dollars worth of scaffolding would need to be rented and erected to repaint or re-fix them periodically.
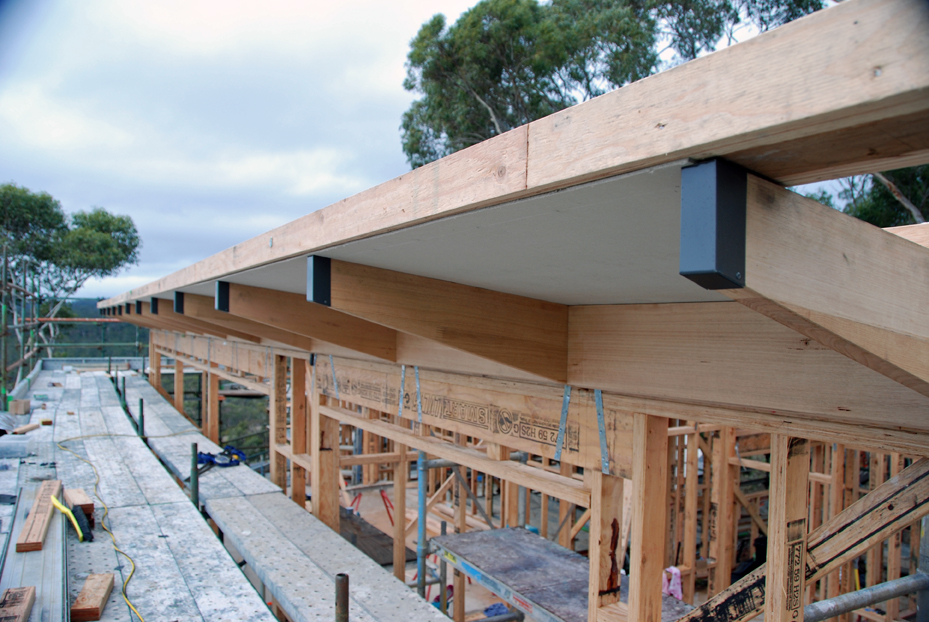
A detailed shot (below) from the other side shows the work done to install the soffit and end caps. The horizontal timber will be covered in a colorbond steel flashing to keep rainwater from affecting the eaves – or the house!
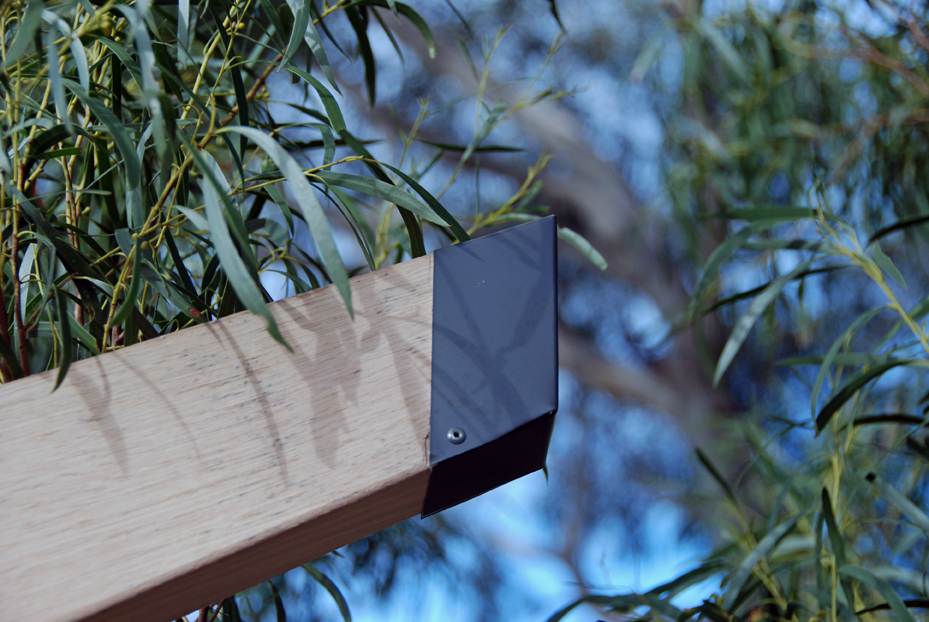
An end cap on the solar PV roof.
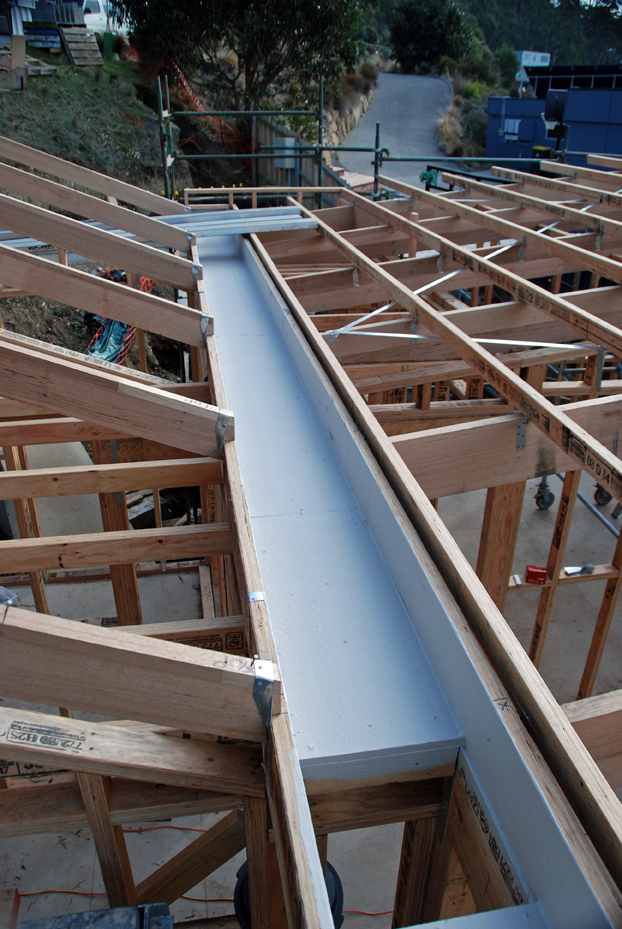
A detail before the steel guttering is installed into the box gutter (above): two coats of waterproofing help ensure nothing ever leaks. The rectangular hole is where the downpipe will be installed.
Day 91 (8 July): Nathan works on installing purlins after the soffit and end caps are largely finished on the solar PV wing of the butterfly.
 Another view on the same day. Damien (far left) installs eaves lining on the western end of the main roof.
In 10 days or so, Damien will leave the site to work with Jib on another of Ian’s projects in town. With us from Day 1, Damien’s skills, willingness to do any task and sense of humour will be missed! He promises he will pop back up from time to time.
As with the main roof, this side of the butterfly (below) has been beautifully detailed. The soffit will remain the natural colour of fibre cement sheet. All that remains to do here is install the roof flashing to seal the lip of the roof from the weather after the roof sheets go on and prime and paint the beam.
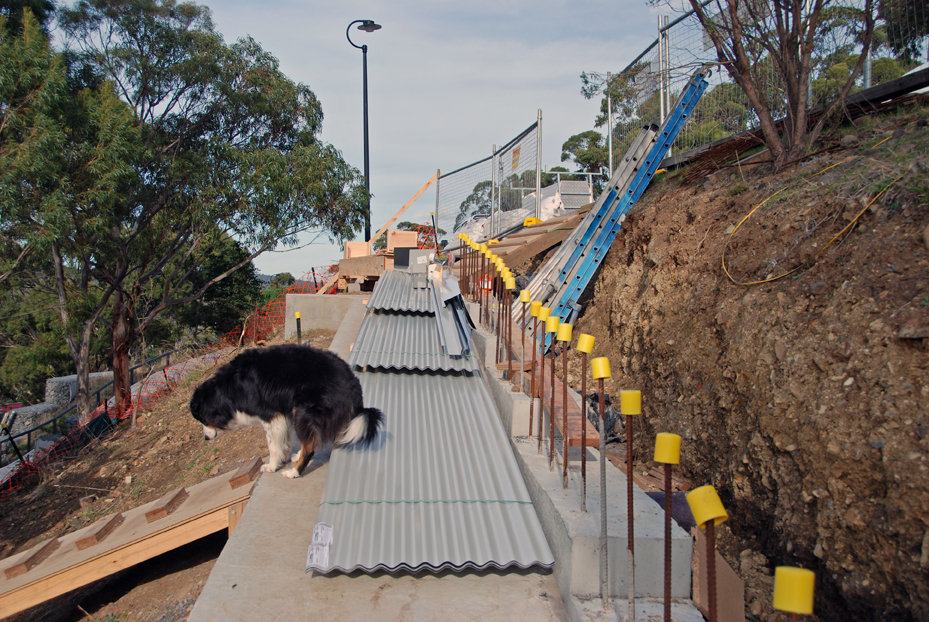
Speaking of roof sheets, they arrive on Day 92 (9 July) and are carefully guarded (below) by the ferocious Bella. She too will be missed!
An occasional bit of mystery in a post is good. Are the roof sheets, packed with the underside showing to protect the finish, the same colour as the end caps or a contrasting colour? The only way to find out is to stay tuned for our next post…

It’s exciting to see the progress!
I’d been missing you, Doug. Good to see the progress and also to note Hobart is so sunny, unlike Sydney, where I arrived this weekend, to find Dutch-style rain apparently settling in for the long haul.
not sure if you still check this blog, but i had some questions about the gutter for the butterfly roof.
Hi Ryan, sorry for the delay. After a long break, I’m planning on getting the blog narrative back up and running to finish documenting the project of a lifetime. Our house has of course been completed for quite a while now, has performed extremely well and provides us with lots of functionality, materiality and delight!
Hope I can answer your questions on the box gutter. Fire away!