
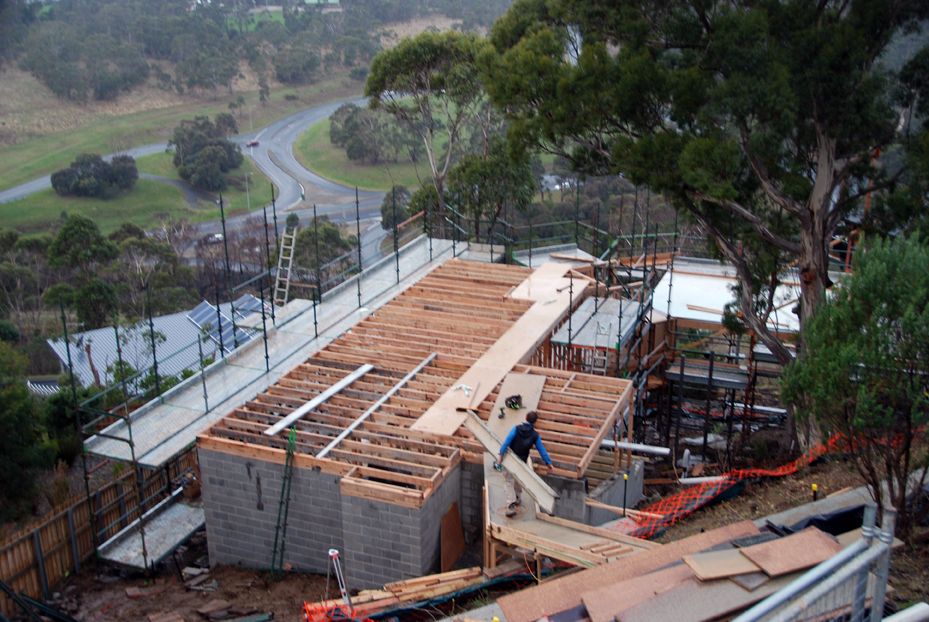
 To be able to finish installing the floor joists for the upper floor, a steel I-beam must be installed tying the timber structure into the block walls sitting on the concrete strip footings in the ground.
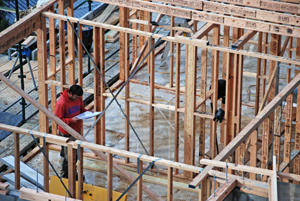
Meanwhile Jib (above) and Nathan (right) keep working away.
Mark, the structural steel man, and Justin, his offsider, install the beam on Saturday, Day 58, ready for the crew to keep going on Monday, Day 59.

Taken at 4 p.m., the fading light is a sure sign that winter is almost here.

Structural engineer Leigh Saltmarsh and architect David Green specified this steel I-beam, which ties the upper floor back to the structural block wall.
With this, the only steel beam found inside the house installed, now is the time to write a few words on ‘thermal bridging’. Steel, like many metals, is a fabulous conductor of heat and cold. In a cool temperate climate such as Hobart’s, this is a problem. But not in this house: readers may have noticed that all the external steel posts and beams installed to date are wholly on the outside of the structure; LVL timber comes between them and the interior of the house and its frame. And this beam is wholly on the inside, buried in the space between the floors and positioned so that wall insulation will come between its left end and the external environment.
Thermal bridging occurs when materials, such as steel, are used in such a way that they aren’t isolated from the interior; on hot days they will channel more heat into the house and on cold days, more cold. Thanks to thoughtless design – where thermal bridging isn’t avoided or prevented – either comfort levels go down or heating and cooling bills go up.
Between them, the entire team – from designers to installers – gives us a deeper understanding of one aspect of materiality in this house: a material is used in such a way that only its strengths not its weaknesses are employed.
Anyone live in a place with aluminium window frames? If you do, you are very likely to be a ‘thermal bridge victim’. Today modern aluminium windows are available in ‘thermally broken’ designs, i.e. with the outside and inside metal frames made from separate pieces of aluminium with a nonconductive spacer between them.
Your blogger witnessed another aspect of materiality almost by accident on Day 59. The LVL timber used throughout the house is structurally very strong when turned on its edge. Turn it 90 degrees and it’s a different story:

Pretty floppy. But used properly, even this aspect of its materiality can be put to good use: turn it back on edge and then its flexibility could be used to support gently curving walls with no compromise of its structural strength!
So, with the steel beam in, the carpenters keep at it.
Nathan (left) works on the perimeter while Damien, having lined the steel I-beam with timber on both sides, connects the remaining floor joists to the beam. By the end of a shortened-due-to-rain Day 60 (Tuesday, 27 May), further progress has been made.


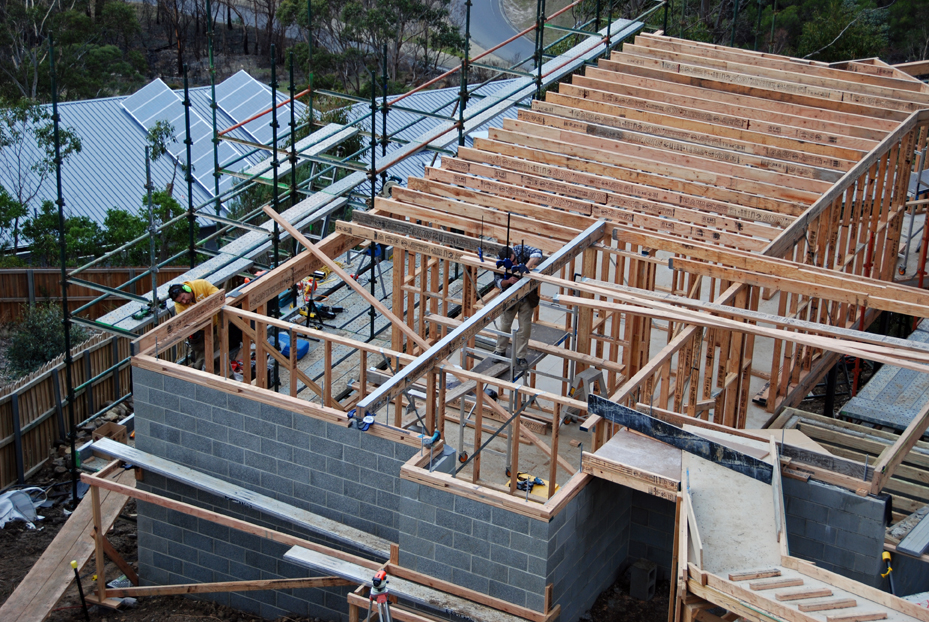
Examine the photo above carefully, comparing it to others at the top of this post, and you can see that the carpenters aren’t the only busy ones. Reaching this point means it’s time for more scaffolding. The scaffolders return on Day 59 and start to add another level.
And after installing the steel beam on Saturday, Mark and Justin also continue welding structural steel braces to the steel poles, an engineering feature required on most pole homes. The poles themselves only support the weight of the whole structure, the braces minimise lateral movement. This house on windy Tolmans Hill is designed and must be built to withstand winds of up to 50 metres/second (112 miles per hour), so …

the bracing is rather important!
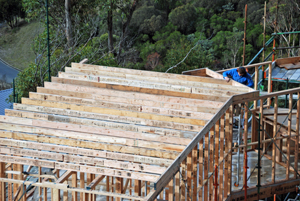
With everything in place, the flooring for the upper floor begins on Day 61, 28 May.
Only 24 hours later, this is the scene:
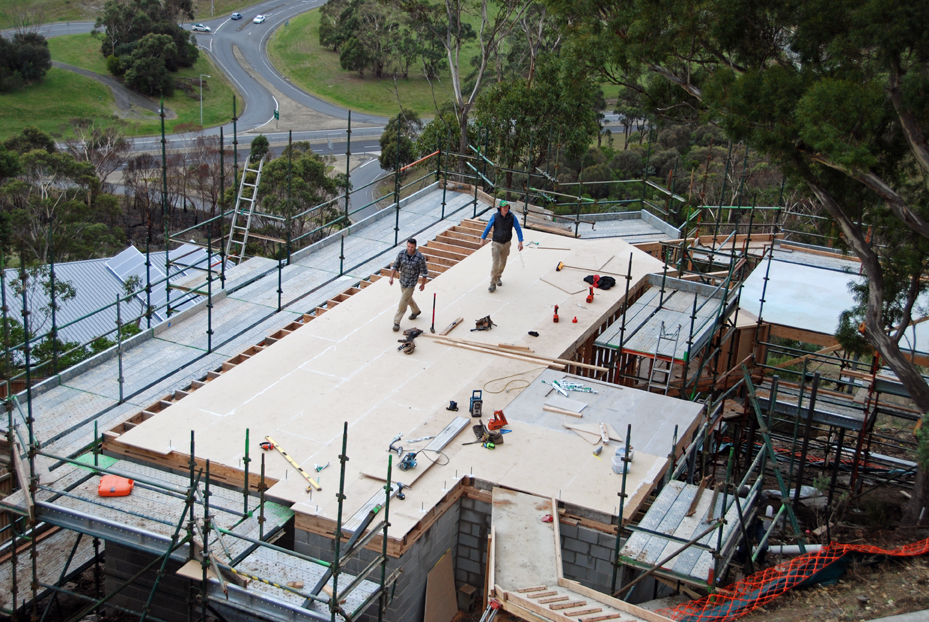
Only one full sheet and part of the perimeter to go! Then the floor gets waterproofed just in time for more rain.
The upstairs bathroom (centre right) is delineated by a different sheet type and colour as on the lower floor. The process of installing the floor sheets is pretty straightforward. Like anything else though it needs conscientious workers to get it right.
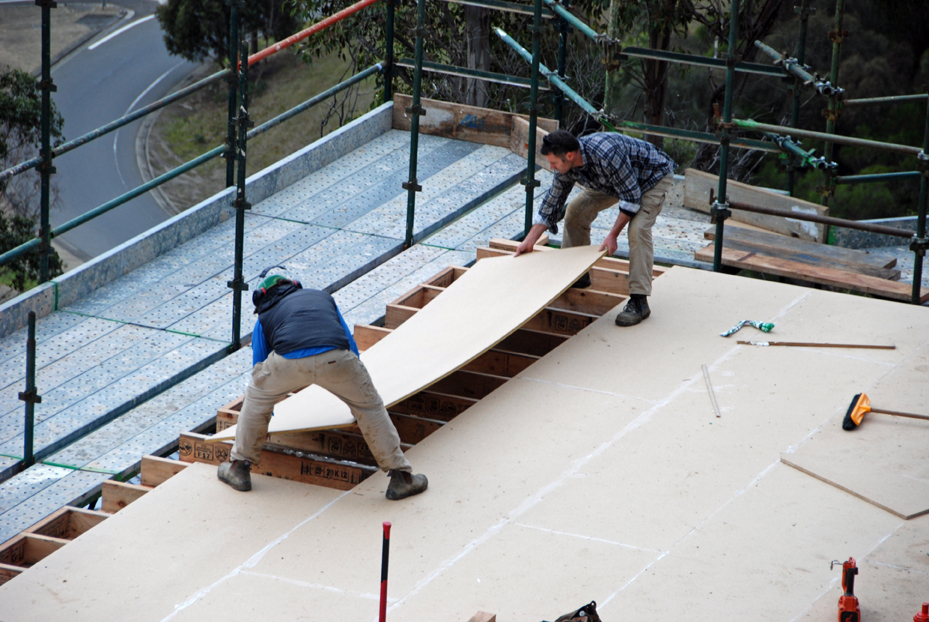
Jib (left) and Damien drop the last full sheet of ‘green tongue’ into place.
A sledgehammer and a block are used to seat the green tongue into the groove of the next sheet.

Damien wields the sledgehammer to move the last full sheet in tight against the others.
 Just two days after starting it, the upper floor is in place and waterproofed. Day 63 (Friday, 30 May) ends well.
It’s time to start the wall framing on this floor and finish off the art studio wall framing. Nathan and Damien put in an extra day on Saturday, 31 May, to make up for lost time due to rain. The week of 2 June promises further advances on a number of fronts.

When I build a house…will you manage the process please??